Nova Forge SDK series part 2: Practical guide to fine-tune Nova models using data mixing capabilities

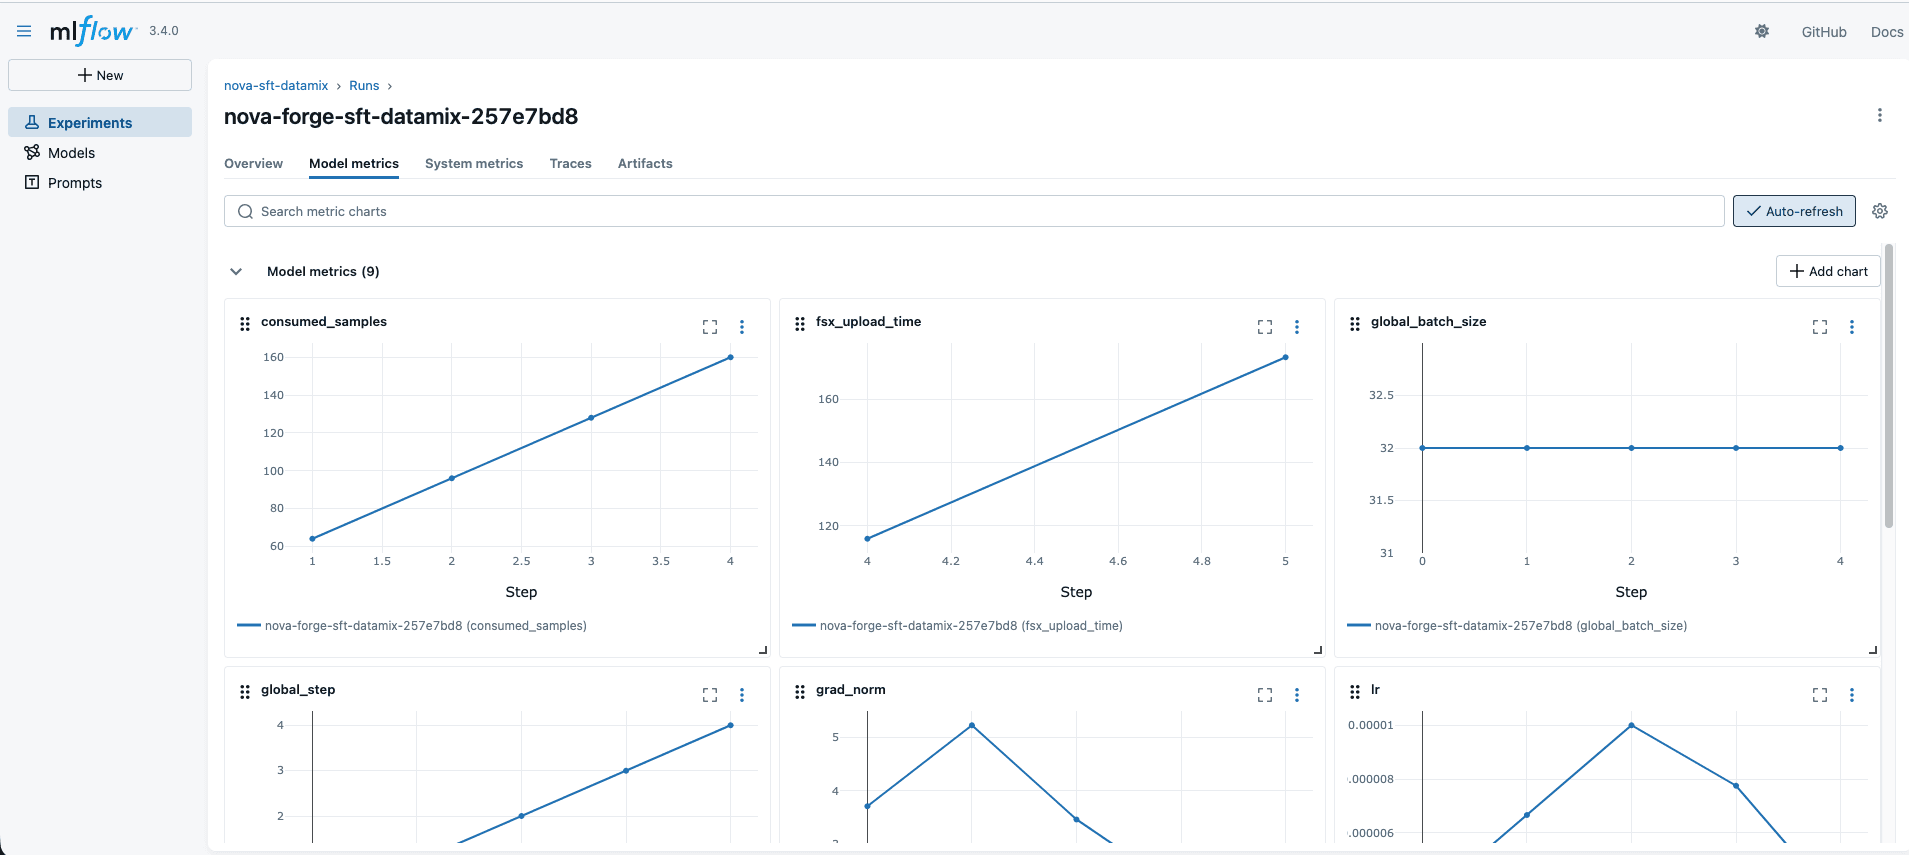
Artificial Intelligence Nova Forge SDK series part 2: Practical guide to fine-tune Nova models using data mixing capabilities This hands-on guide walks through every step of fine-tuning an Amazon Nova model with the Amazon Nova Forge SDK, from data preparation to training with data mixing to evaluation, giving you a repeatable playbook you can adapt to your own use case. This is the second part in our Nova Forge SDK series, building on the SDK introduction and first part, which covered kicking off customization experiments. The focus of this post is data mixing: the technique that lets you fine-tune on domain-specific data without sacrificing a model’s general capabilities. In the previous post, we made the case for why this matters, blending customer data with Amazon-curated datasets preserved near-baseline Massive Multitask Language Understanding (MMLU) scores while delivering a 12-point F1 improvement on a Voice of Customer classification task spanning 1,420 leaf categories. By contrast, fine-tuning an open-source model on customer data alone caused a near-total loss of general capabilities. Now we show you how to do it yourself. Solution overview The workflow consists of five stages: - Environment setup – Install the Nova Forge SDK and configure AWS resources - Data preparation – Load, sanitize, transform, validate, and split your training data - Training configuration – Configure the Amazon SageMaker HyperPod runtime, MLflow tracking, and data mixing ratios - Model training – Launch and monitor a supervised fine-tuning job with Low-Rank Adaptation (LoRA) - Model evaluation – Run public benchmarks and domain-specific evaluations against the fine-tuned checkpoint Prerequisites Before you begin, make sure you have the following: - An AWS account with access to Amazon Nova Forge - A SageMaker HyperPod cluster provisioned with GPU instances. This walkthrough uses `ml.p5.48xlarge` instances. Setting up a HyperPod cluster involves configuring an Amazon Elastic Kubernetes Service (Amazon EKS) cluster, provisioning compute nodes, and creating execution roles. For detailed instructions, see Getting started with SageMaker HyperPod. - An Amazon SageMaker MLflow application for experiment tracking - An IAM role with permissions for SageMaker, Amazon Simple Storage Service (Amazon S3), and Amazon CloudWatch - A SageMaker Studio notebook or similar Jupyter environment Cost consideration: This walkthrough uses 4 `ml.p5.48xlarge` instances for training and for evaluation. These are high-end GPU instances. We recommend starting with a short test run (max_steps=5) to validate your configuration before committing to a full training run. For current rates, see the Amazon SageMaker pricing page. Step 1: Install the Nova Forge SDK and dependencies The SDK requires the SageMaker HyperPod CLI tooling. Download and install it from the Nova Forge S3 distribution bucket (provided during your Nova Forge onboarding) or use the following easy-to-use installer script that installs the dependencies from the private S3 bucket and sets up a virtual environment. Next, within the same virtual environment, also install the Nova Forge SDK (nova-forge-sdk) which provides the high-level APIs for data preparation, training, and evaluation. After all dependencies are installed, activate the virtual environment and set it as a kernel for use…